The grid helps Framer users create accurate and stylish layouts. Grids make your landing page or dashboard look clean and organized. If you’re thinking about how to show grid in Framer, let’s start now.
Customizing the Grid
You can adjust the grid’s size, spacing and color to fit your workflow. This is useful if you follow an 8pt or 10pt spacing system.
Framer Can I Change a Stack to a Grid?
Yes, you can. If you’re using a stack and realize you need more control, simply select the stack and switch its layout to “Grid” in the right-hand panel.
Defining rows, columns and spacing between items. When comparing Webflow vs Framer, Framer can show grid layouts for pixel-perfect design.
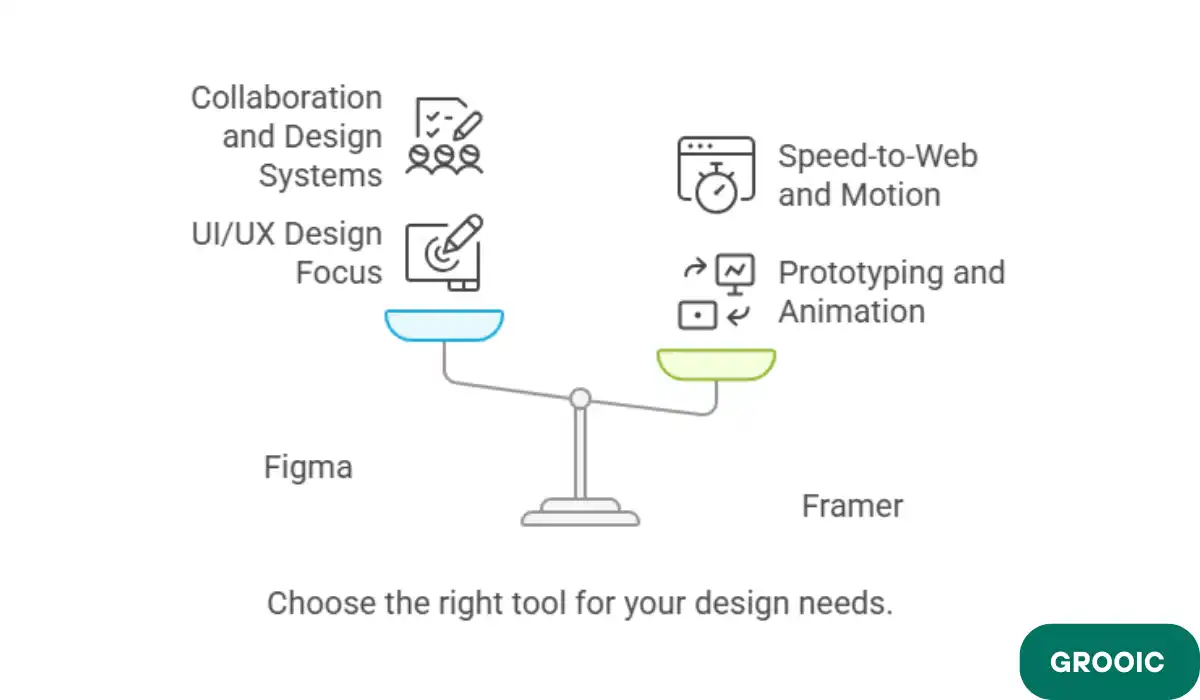
Why Use a Grid Layout?
Grids provide more flexibility than stacks. Grids are more flexible than stacks. You can put items anywhere in a frame, but stacks are vertical or horizontal.
Grid vs Stack in Framer: Quick Comparison
| Feature | Grid Layout | Stack Layout |
| Layout Type | Rows & columns | Vertical or horizontal flow |
| Alignment Control | High | Moderate |
| Responsive Support | Strong (custom breakpoints) | Limited to flow direction |
| Best For | Complex layouts, multi-column UI | Lists, buttons, simple sections |
| Can Switch to Each Other? | Yes | Yes |
How to Show Grid in Framer?
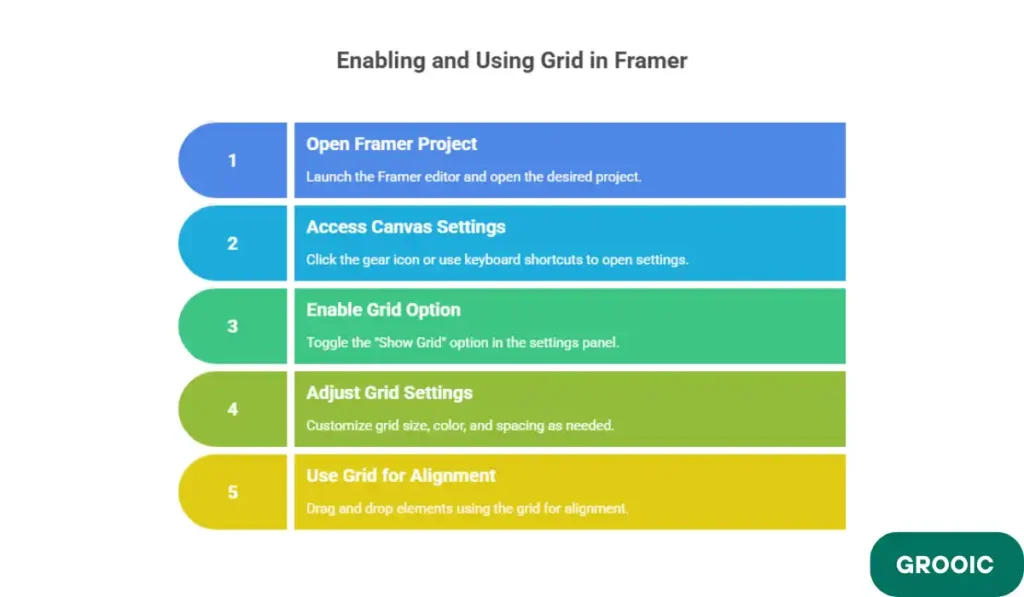
Step 1: Open Your Framer Project
Launch Framer editor and open the project where you want to enable the grid.
Step 2: Access the Canvas Settings
In the top-right toolbar, click on the canvas settings (gear icon) or press Cmd +, (on Mac) / Ctrl + , (on Windows) to open the panel.
Step 3: Enable the Grid Option
Within the canvas settings use the Grid section. Toggle the option to “Show Grid” to enable the grid overlay on your canvas.
Step 4: Adjust Grid Settings
Customize the grid size, color and spacing as needed. This helps you create balanced layouts with proper spacing between elements.
Step 5: Use Grid for Alignment
Now that the grid is visible, drag and drop elements onto the canvas and use the grid as a reference. You can also hold Shift or Option for smart alignment snaps.
Framer Objects Aligned to Left
In Framer, many creators prefer to keep objects aligned to the left. To do this, select your elements, then use the alignment tools in the right-hand panel.
Left alignment works in both static and responsive layouts. You can design a sidebar, content block or form section.
Using Smart Guides and Grids Together
You can also toggle the snap-to-grid option for tighter control. As you drag components, they will automatically align to the closest grid line.
This feature is especially useful for pixel-perfect design. The main difference between Framer and Figma is that Framer has live previews and grid toggling directly on the canvas for real-time UI work.
Fixing Common Alignment Issues
Sometimes elements don’t work as expected. Due to improper margins, paddings or nested frames. To fix it:
- Check spacing in the right-hand sidebar.
- Use “Distribute Vertically” or “Distribute Horizontally”.
- Group elements to work as a unit.
When working with multiple layers, locking the background layers can help you focus on adjusting objects.
When to Use Grid Over Stack?
Stacks are great for linear layouts, but grids is more layout flexibility. If you want to create a multi-column or asymmetrical layout, switch from stack to grid mode. This gives you full control over both rows and columns.
Alignment Methods in Framer
| Feature | Best For | How to Use |
| Align Left | Consistent vertical edge | Use alignment tools in the right panel |
| Smart Guides | Snap-to-position while dragging | Auto-activated when moving elements |
| Canvas Grid | Pixel-perfect layout planning | Enable via canvas settings |
| Stack Layout | Simple vertical/horizontal lists | Select frame → set layout to “Stack” |
| Grid Layout | Multi-directional flexibility | Select frame → change layout to “Grid” |
| Distribute Tools | Even spacing between elements | Use Distribute in alignment menu |
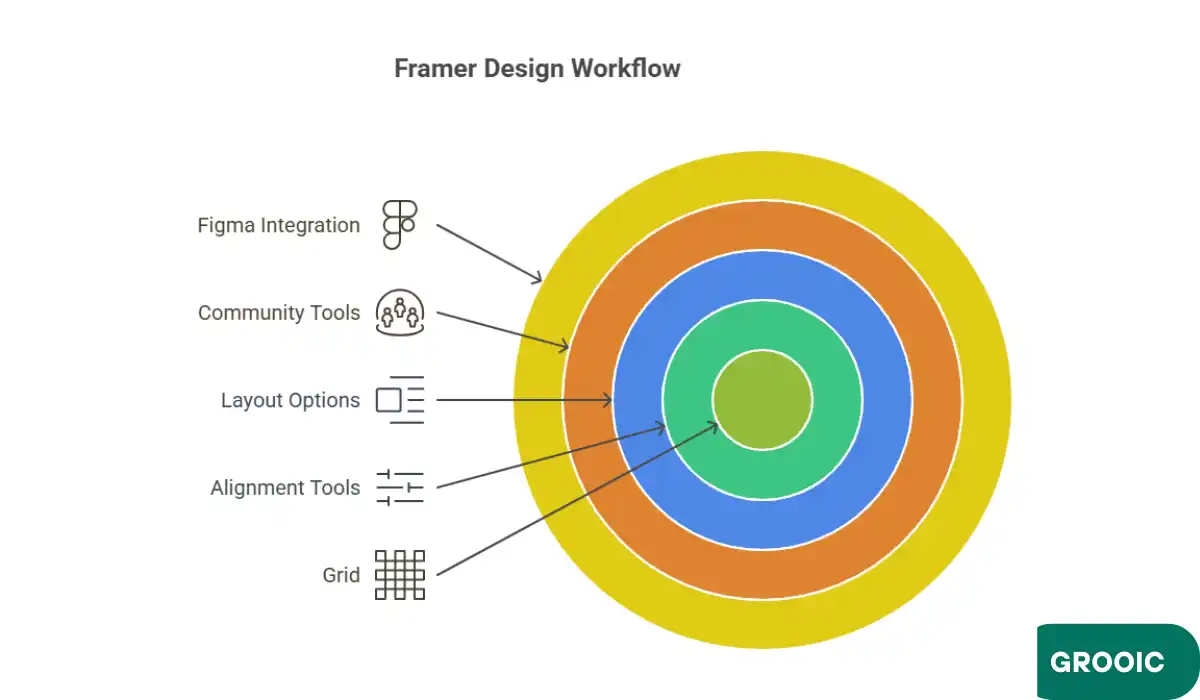
Some Other Tools To Add Grid in Framer
These tools and components can be easily added to your Framer projects from the Framer Community,
- Layout Grid by Framer Components
A ready-to-use layout grid component you can drag into your project for fast setup. - Modular Grid System by Ronas IT
A modular grid overlay tool built specifically for Framer to support pixel-perfect layouts. - Responsive Grid System by Kevin Luu
Flexible and responsive layout component that supports rows and columns. - Simple Grid System by Dan Vega
Minimalist grid setup ideal for quickly prototyping grid-based layouts. - Grid Overlay by Giovanni Di Mauro
An overlay grid system to help designers visualize and align elements without altering layout structure.
Grid and Guide Tools in Figma
Grids and guides in Figma are a must for structured, balanced designs. But constantly switching between a focused view and an editable layout can slow you down.
Show Hide Guides Figma Shortcut
One of the most common questions is, How can I quickly toggle guides?
Guides help with snapping and aligning layers, but hiding them gives you a clearer preview.
Figma to Hide Grid, Fast and Easy
If you’re using layout grids (not just guides), you can hide those too.
Top menu: View → Layout Grids → Hide Layout Grids, or press Shift + G.
This shortcut quickly hides all active grids so you can focus on design details.
Using both guides and grids when connecting components or working with modular layouts.
Show Hide Guides Figma for Clean Previews
Knowing how to show or hide guides in Figma quickly polish their layouts. When presenting, toggling off guides ensures the design looks clean and client-ready. When editing, turning them back on ensures everything.
Match Grids Between Figma and Framer
If you’re planning to move your layout from Figma into Framer, try matching grid values (like 8pt or 12pt spacing). This keeps your design system the same across platforms.
How to show grid in Framer can help structure landing pages more effectively, especially when you’re designing a sales funnel.
Quick Reference Table
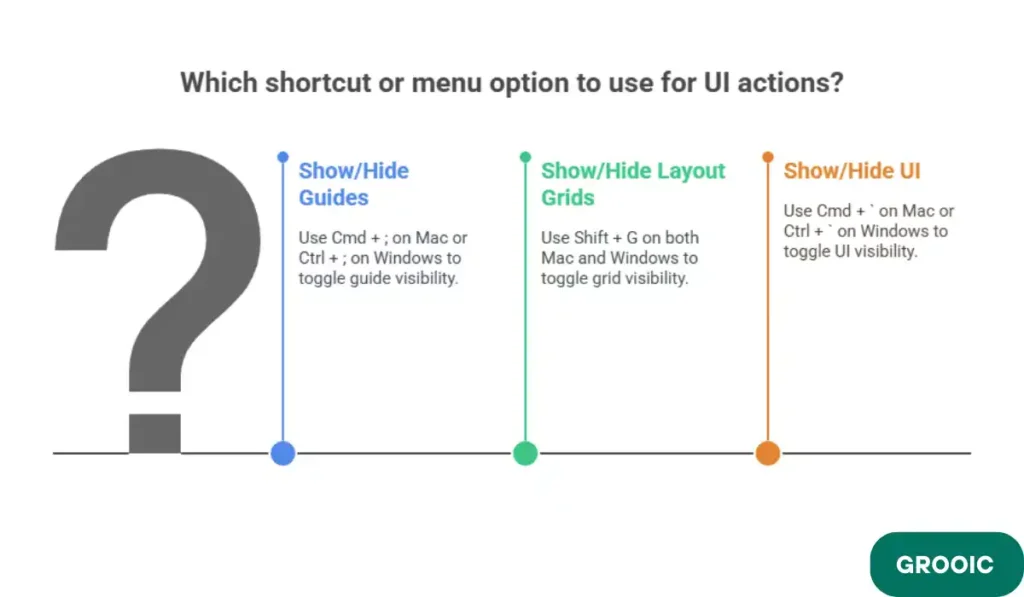
| Action | Shortcut (Mac) | Shortcut (Windows) | Menu Option |
| Show/Hide Guides | Cmd + ; | Ctrl + ; | View → Guides → Show/Hide Guides |
| Show/Hide Layout Grids | Shift + G | Shift + G | View → Layout Grids → Show/Hide |
| Show/Hide All UI (for focus) | `Cmd + “ | `Ctrl + “ | View → UI → Show/Hide UI |
At The End
Now that you know how to show a grid in Framer, you can easily create professional, well-aligned designs. Using the grid system not only improves design but also speeds up your workflow.